How To Connect HP Wireless Printer To Wi-Fi
Below are detailed steps for setting up any HP wireless printer including a focus on common
methods like using the Wireless Setup Wizard or WPS (Wi-Fi Protected Setup). If your HP wireless printer not printing, Try these steps are generalized for most models, so they should apply to a wide range of HP printers.
Step 1: Unbox the Wireless HP Printer and Power It On
1. Unbox the wireless printer and remove all protective materials.
2. Plug in the power cord to the printer and the wall socket.
3. Power on the printer.
Step 2: Connect the HP wireless Printer to Your Wi-Fi Network
There are two common methods for wireless setup: Using the Wireless Setup Wizard or WPS (Wi-Fi
Protected Setup).
Method 1: Using the Wireless Setup Wizard (most common)
- Access the printer control panel (where you can see the printer’s menu, settings, etc.).
- Go to the Wireless Settings section, which might be found under Setup, Network, or Wi-Fi options.
- For printers with a touchscreen, tap on the Wireless icon or go to Setup > Network Setup > Wireless Setup Wizard.
- For printers with buttons and a display screen, use the arrow keys to find. Wireless Setup Wizard or Network Setup in the Settings menu.
3.The printer will start scanning for available Wi-Fi networks.
4. Select your Wi-Fi available networks.
5. Enter your Wi-Fi password (make sure to enter it correctly; Wi-Fi passwords are case-sensitive).
Once the printer connects, a message will confirm that it is successfully connected to the Wi-Fi.
Method 2: Using WPS (Wi-Fi Protected Setup)
1.Check if your router supports WPS (many routers have a WPS button on the back or side).
2. Press the WPS button on your router (this is often a physical button, but some routers have a virtual WPS option in their settings.)
3. Within two minutes, press the WPS button on your printer or use the WPS option in the printer’s wireless setup menu.
4. On many HP printers, you can find WPS in the Wireless Settings > Wi-Fi Protected Setup > Push Button Setup.
5. The printer will automatically connect to your router without needing to manually enter the Wi-Fi password.
Once connected, a confirmation message will be displayed on your printer.
Step 3: Install HP Smart Software on Your Computer
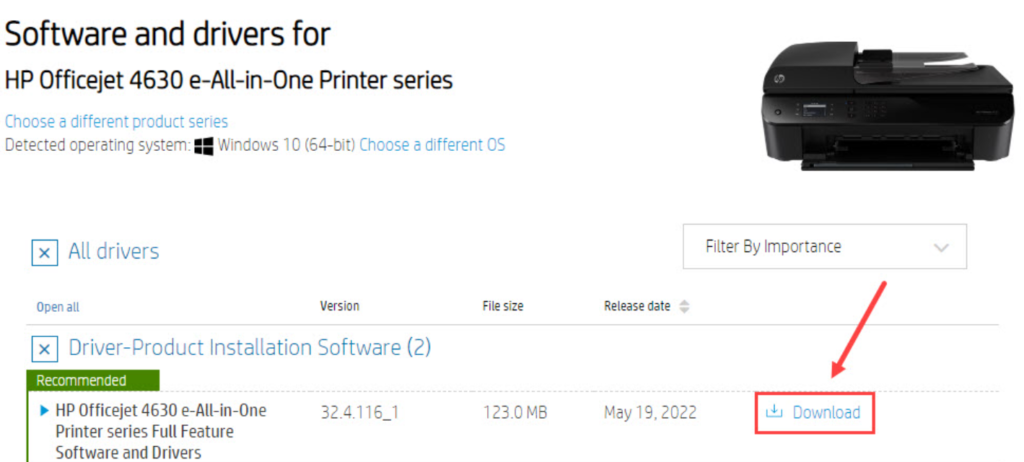
1. Download the HP Printer Software:
- Visit HP Support page.
- Search for your printer model (e.g., HP Deskjet 2700, HP Envy 5055, HP LaserJet Pro, etc.).
- Download the latest software package for your printer model and operating system
(Windows or macOS).
2. Run the Installation:
- Open the downloaded software and run the installer.
- Follow the on-screen instructions.
3. Choose Wireless Connection:
- During the installation process, you will be asked to select your connection type.
- the installer will scan your network for available printers.
4. Finish Installation:
- the installer will finish setting up your printer on your computer.
- Once complete, your wireless hp printer should be ready for printing.

Step 4: Print a Test Page on wireless HP printer
To verify proper functionality, print a test page.
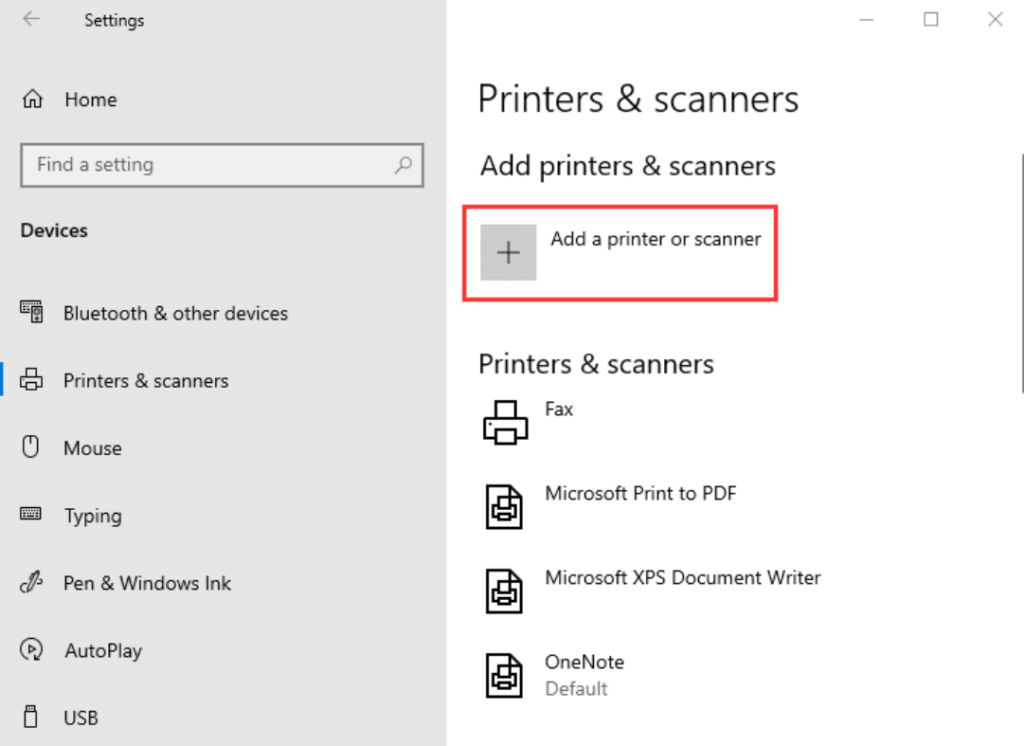
1.On Windows:
- Navigate to System Preferences and select Printers & Scanners.
- Right-click your HP printer and select Print a Test Page.
2.On MacOS:
- Go to System Preferences, then navigate to the Printers & Scanners section.
- Select your HP printer and click Open Print Queue.
- Click the Print Test Page button.
Step 5: Print Wirelessly from Your Devices
After setting up and connecting the printer, you can wirelessly print from devices such as laptops, smartphones, and tablets:
1.On Windows:
- Select File > Print, and choose your HP printer from the list of available printers.
2.On MacOS:
- Select File > Print, and select your HP printer.
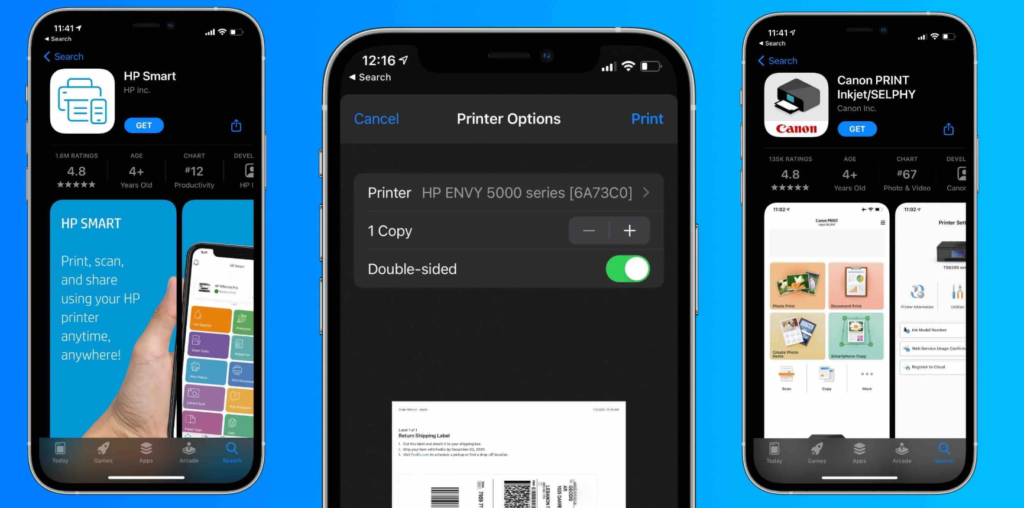
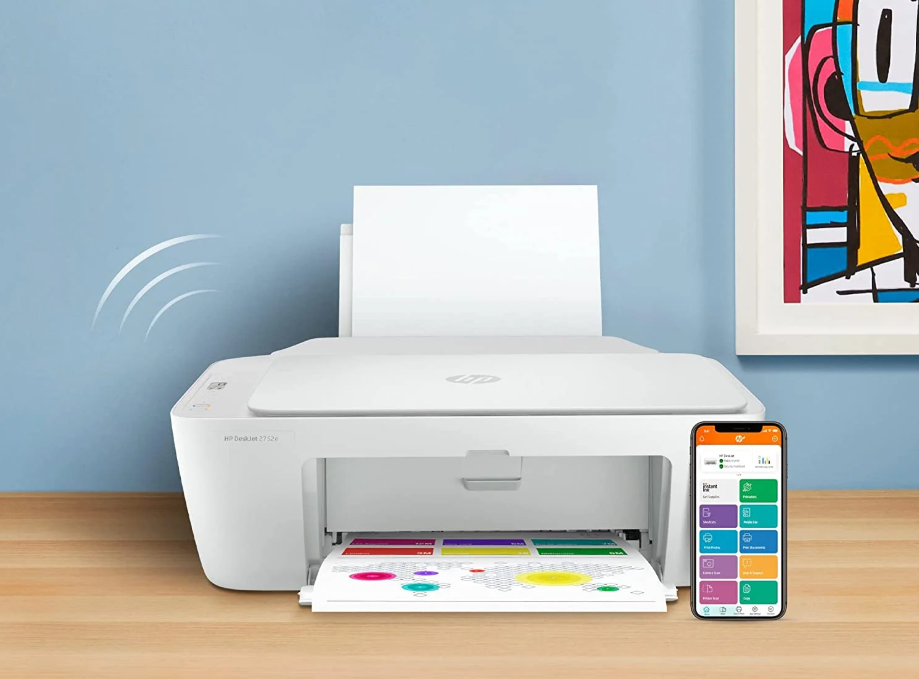
3. On Mobile Devices (iOS, Android):
- Download and install the HP Smart app from the App Store (iOS) or Google Play Store (Android).
- Open the app, select your printer, and print from your phone.