How to install hp printer in Computer: Ultimate Installation & Setup Guide (2025)

Setting up & install HP printer can seem daunting, but with the right guidance, it is a straightforward process. Below is a comprehensive step-by-step guide to help you set up your 123.hp.setup, whether it is a wired or wireless model. This HP printer setup guide will cover unboxing, hardware setup, software installation, and troubleshooting tips.

Step 1: Unboxing Process
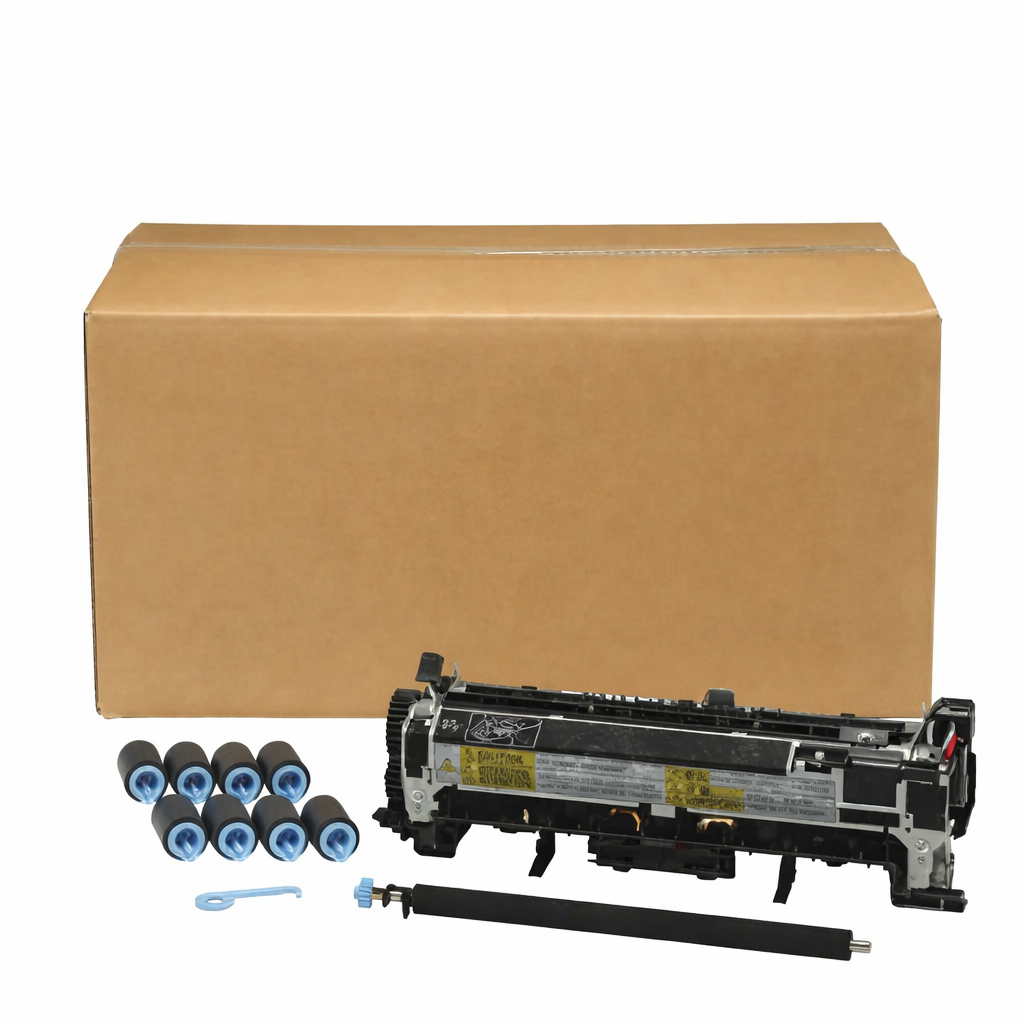
Unpack the Printer:

Remove Protective Materials, Peel off all stickers, tapes, and packaging from the exterior and interior, especially around the cartridge compartment and all accessories from the box. Ensure you have:

  •  HP Printer setup
  •  Power cord
  •  USB cable (If applicable)
  •  Ink cartridges or toner
  •  HP Printer Setup guide and documentation
  •  Software installation CD or instructions
HP printer setup maintenance kit including fuser assembly, rollers, and accessories placed in front of an HP-branded cardboard box
A man using an HP 123 Setup in a bright office setting, printing colorful documents.
Illustration showing the process of replacing an ink cartridge in a hp printer set up, with a close-up of the cartridge slot highlighted.

Step 2: HP Printer Installation

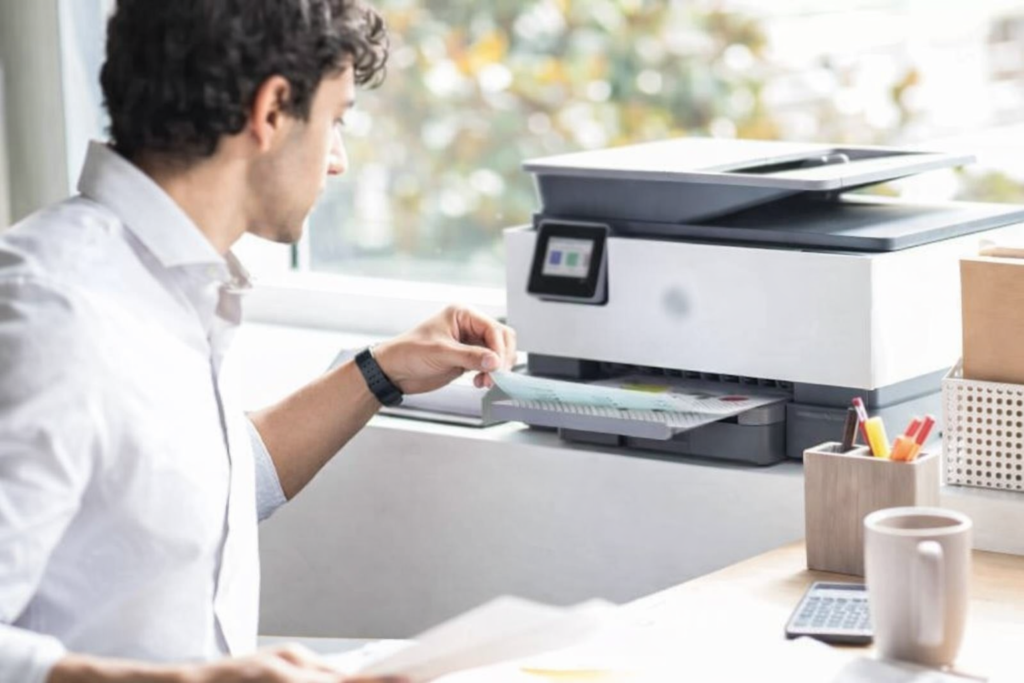
1.Position the Printer:

Set the printer on a table near a power outlet and within easy reach of your computer, plug power cord into the printer and turn on the HP Printer Setup using the power button.


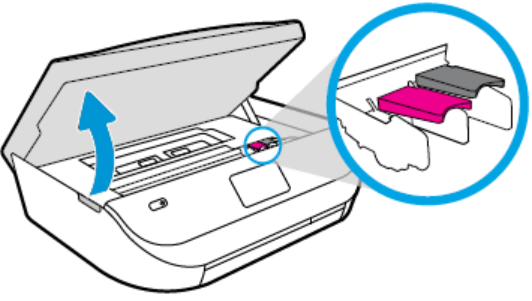
2.Install Ink Cartridges or Toner:

  •  Open the cartridge access door.
  •  Remove new cartridges from their packaging and insert them into their respective slots (color and black).
  • Close the access door securely.

3.Insert Paper:

  • Put the paper into the input tray and adjust the width guides.
  • Ensure the paper is loaded correctly (usually face-down for most models).
  • Pull out the output tray if required.

Step 3: Connect HP printer to Your Computer

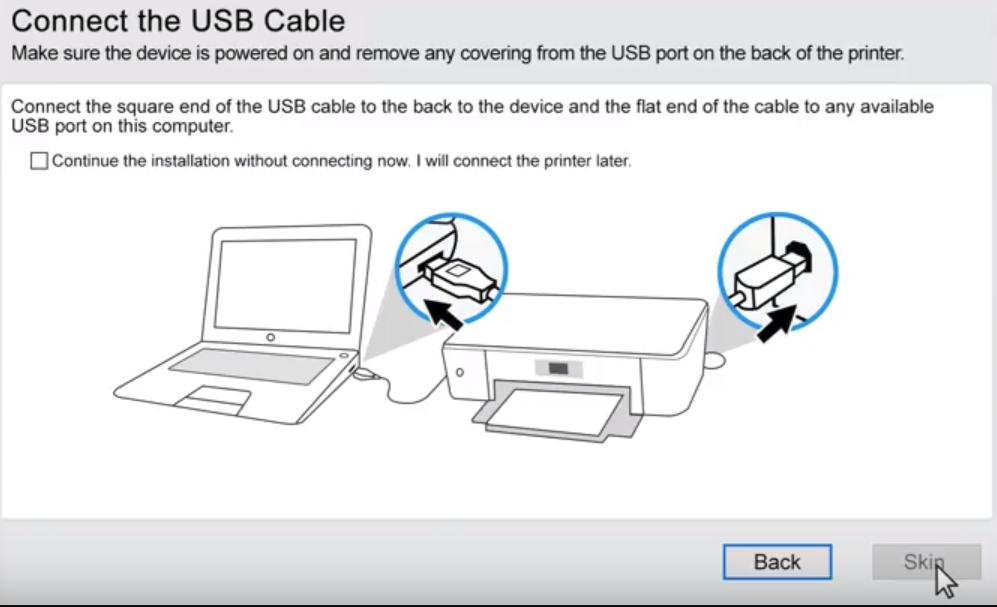
Option 1: USB Connection (Wired Setup)

  • Plug one end of the USB cable into your printer and the other into your computer for a direct connection.
  • Wait for your computer to appear the HP Printer and follow all instructions comes on-screen

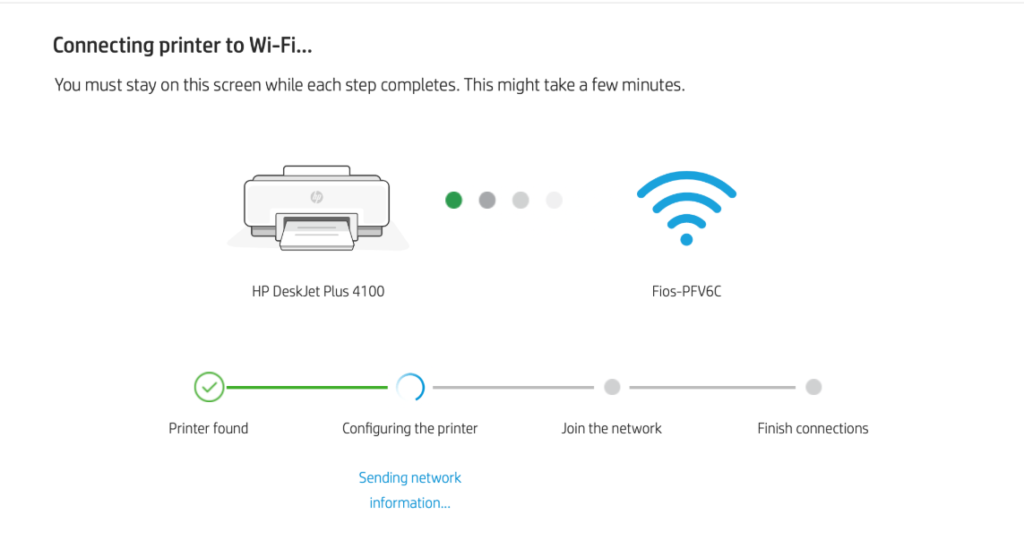
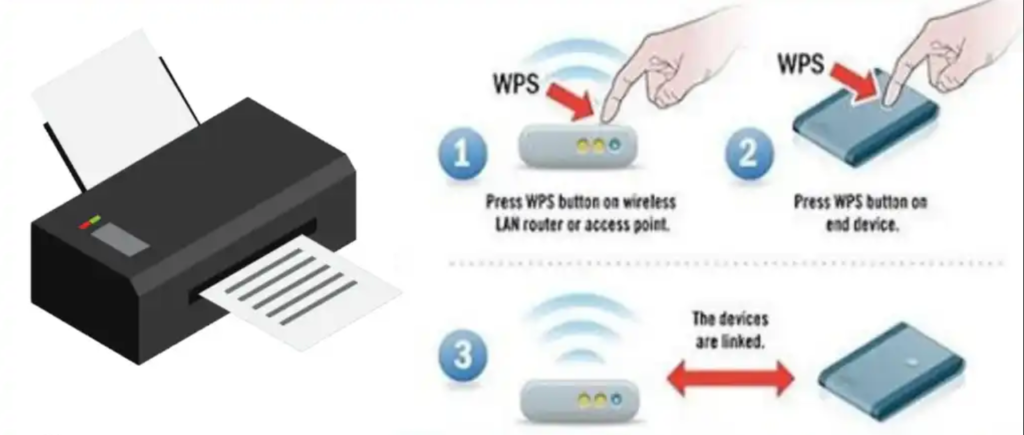
Option 2: Wireless Connection (Wi-Fi Setup)

1.Enable Wi-Fi on the Printer:
  •    Right click on the control panel, Settings > Network Setup > Wireless Setup Wizard.
  •    Choose your preferred Wi-Fi network and enter your password.

 Read full setup instructions for wireless HP Printer here.

2.Connect via WPS (Optional):
  •   Press the WPS button on your router, then select WPS or Push-Button Setup on     your  printer to connect easily.
3.Confirm the Connection:
  •    Printing a wireless test report from the printer’s menu helps to verify connectivity.
Instructional diagram showing how to connect a 123 HP setup printer to a laptop using a USB cable, with close-ups of the USB port connections.
Screen displaying the process of connecting an HP DeskJet Plus 4100 printer to Wi-Fi, with progress indicators and steps for printer hp setup configuration.
Instructions showing how to connect a HP smart printer setup to a network using WPS. Steps include pressing the WPS button on a router and end device, with a diagram of the printer linked to the network.
Close-up of a hand holding a smartphone displaying the HP Smart app interface, with a 123 hp com setup in the background.

Step 4: HP Printer Driver Installing

1.Download the Software:

  •    Visit [HP Support]
  •    Enter your HP printer model and download the latest software and drivers.

2.Run the Installer:

  •    Open the downloaded file and follow all the instructions.
  •    Select the preferred connection type USB or Wireless

3.Complete Setup:

  •    Sign in to your HP account (optional) for additional features.
  •    Register your printer for warranty and support.

Step 5: Testing the Printer

1.Print a Test Page:

  •  Right-click on Control Panel and select Devices and Printers.
  •  Find your HP printer, right-click on it, and choose Printer Properties.
  •  Click the Print Test Page button to ensure everything is working.

2.Scan a Document (if applicable):

  •  Place a document on the scanner glass or in the feeder.
  •  Use the HP Smart app or scanning software to perform a test scan.
123.hp.setup performing a test print displaying color calibration and alignment patterns on a beige background.
HP Scan error message stating: 'The HP Officejet Pro 8610 was not found,' with an OK button displayed.
A 123.hp.comp/setup with a red Wi-Fi error icon indicating connectivity issues, displayed against a blue background
Error message on an HP Printer setup installation screen stating: 'A fatal error occurred preventing product use. Click Cancel to cancel install

Troubleshooting Common Printer Issues

1.Printer Not Detected:

  • Remove the USB cable then again plugged in or verify that the printer is on the correct Wi-Fi network.
  •  Restart the printer again

2.Poor Print Quality:

  •  Check the ink levels, and if they are low, replace the ink cartridges to ensure smooth printing.
  •  Run the printer’s built-in cleaning function.

3.Wireless Connection Issues:

  •  Move the HP Printer Setup closer to the router.
  •  Re-check the Wi-Fi password or restart the router.

4.Software Installation Errors & Additional Features:

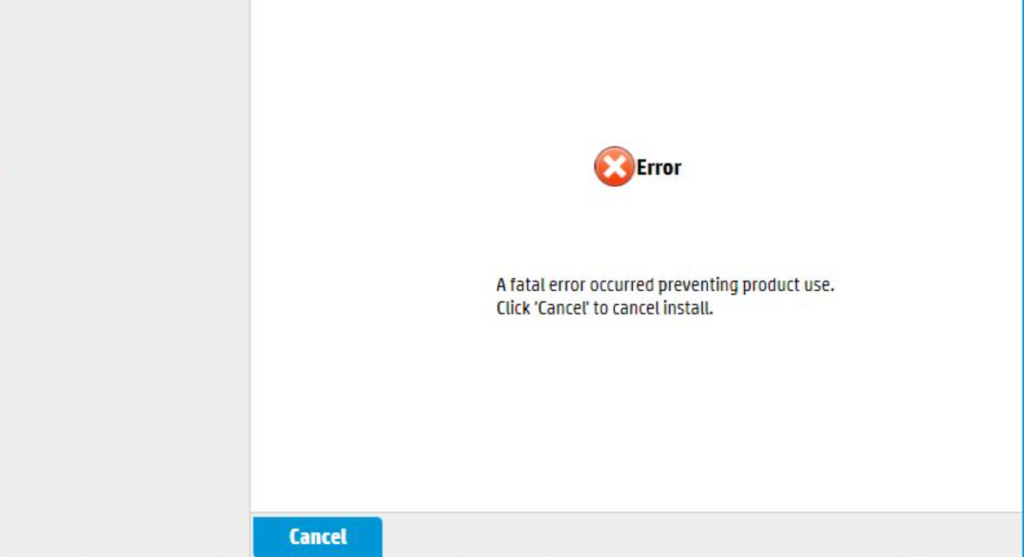
  • Temporarily disable antivirus and firewalls during installation.
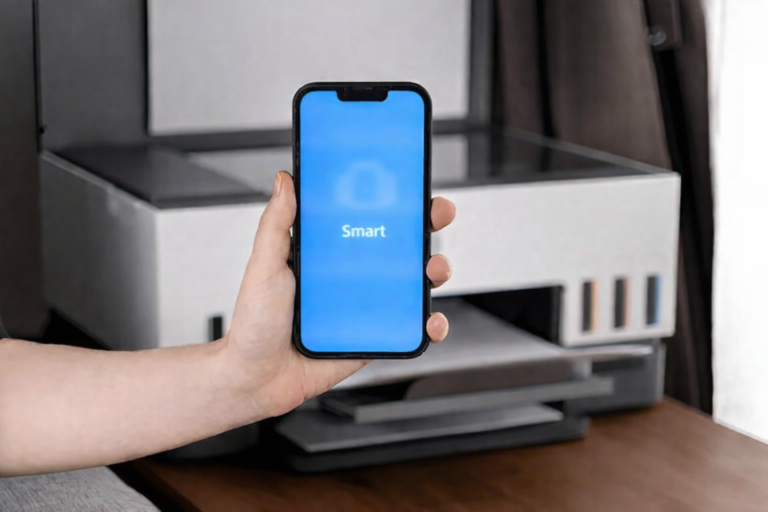
  • Download and install the HP Smart app for mobile printing and scanning.
  • Use it to monitor ink levels, order supplies, and troubleshoot issues.
  • Set up HP E-Print or Google Cloud Print for remote printing.
  • Connect your printer to Alexa or Google Assistant for hands-free printing.
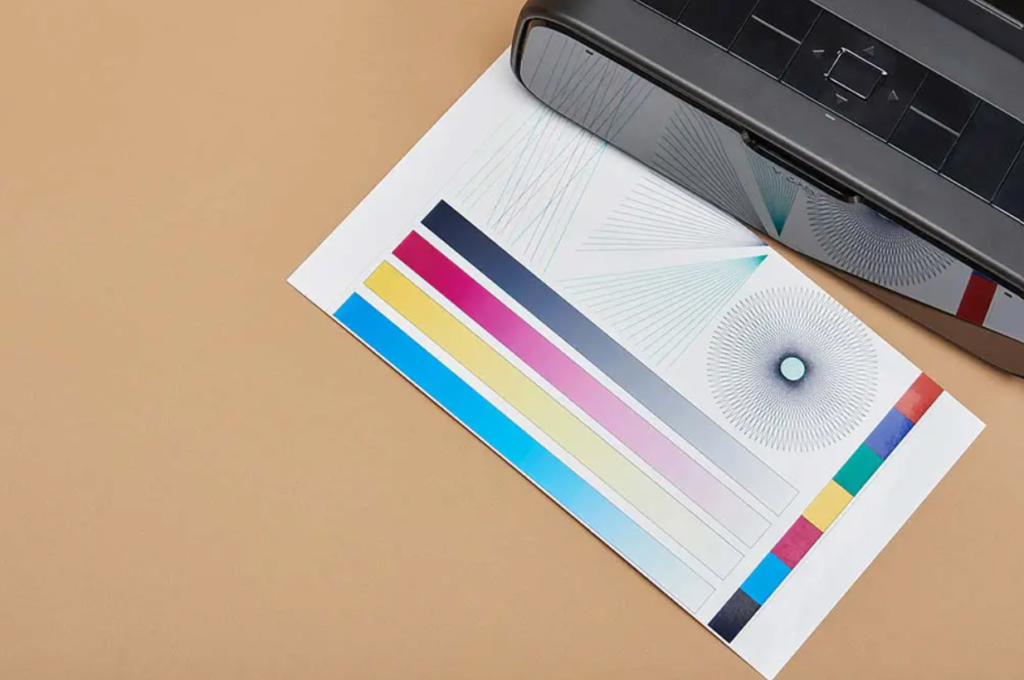
Setting up & install hp printer is a straightforward process when following these steps. Whether you prefer a wired or wireless connection, ensuring proper hardware installation, downloading the right Drivers, and troubleshooting common issues will help you get the most out of your printer. Once set up, enjoy high-quality prints and scans for both personal and professional use.

Scroll to Top